How to Keep Threader Earrings From Slipping (The Small Adjustment That Matters)
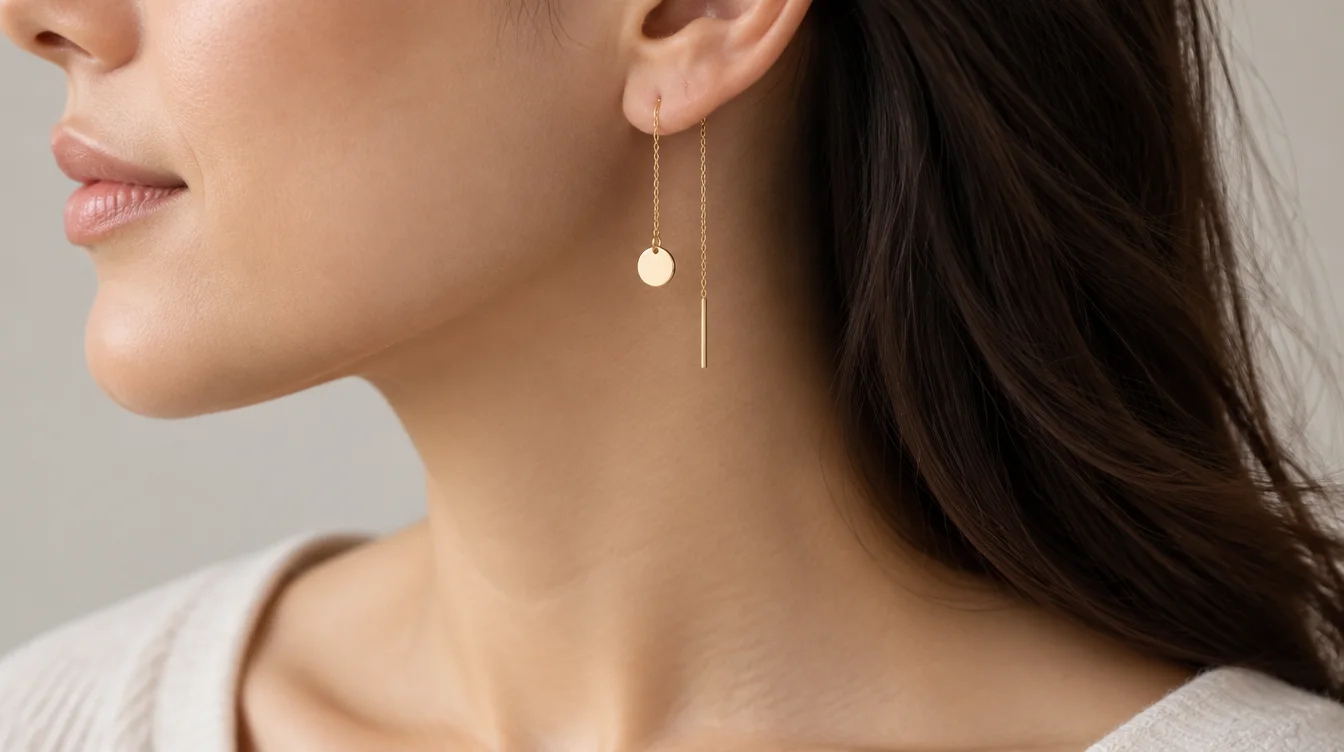
To learn how to keep threader earrings from slipping, start with a comfortable drop and leave enough chain behind your ear to resist a gentle tug. Add a compatible stopper if the earring still moves. Only pass a threader through a healed piercing, and stop if the post or chain catches or hurts.
How to Put On Threader Earrings Without Tugging
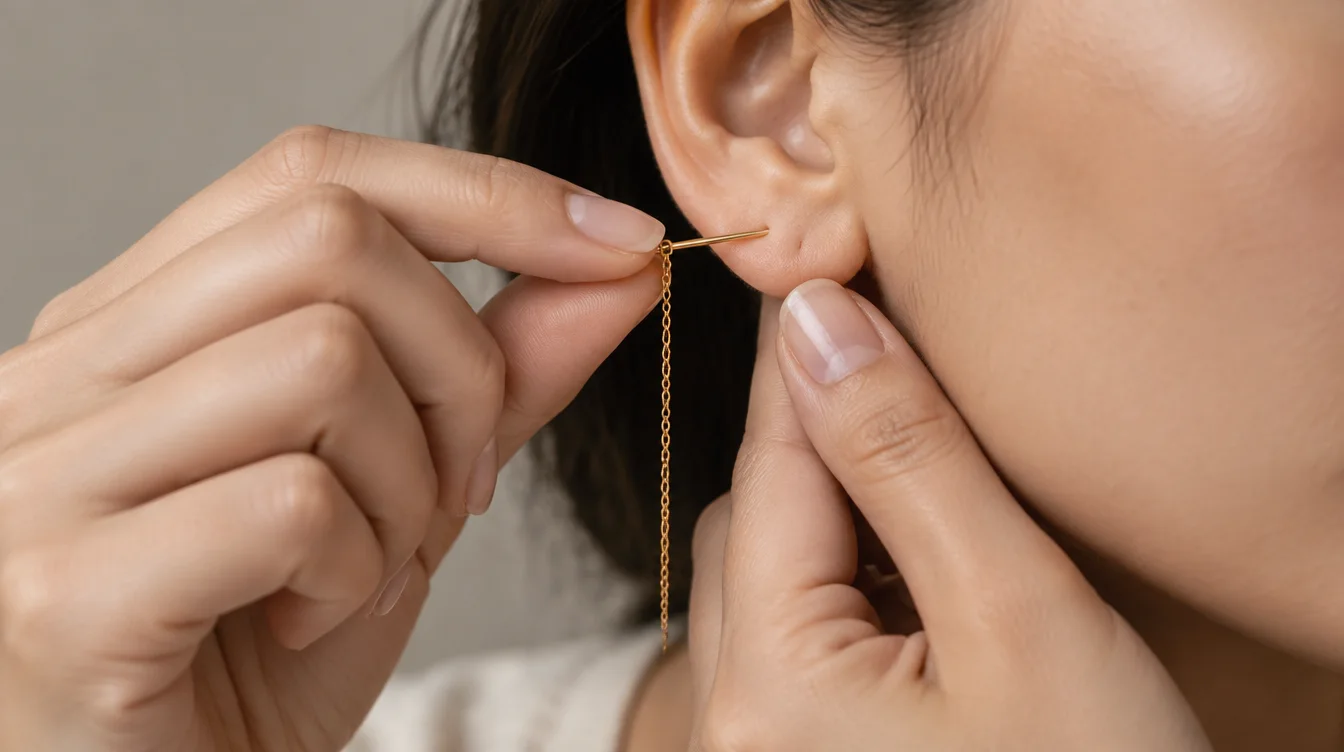
To put on a threader earring, guide its smooth, rigid post through a healed piercing. Draw the chain through slowly. Wash your hands first and check that the post and chain are clean. Face a mirror and hold the post close to its tip. Follow the angle of your piercing rather than pushing straight at your ear. Carathea’s insertion guide also advises keeping the chain aligned with the piercing as it passes through.
Once the post exits, pull a little chain at a time. Support your lobe with your other hand so the earring does not jerk forward. If a link snags, ease the chain back and check it before trying again. Pain, bleeding, or repeated resistance is a reason to stop, not press harder. A professional piercer can check whether the piece suits your piercing.
With the threader in place, the next choice is where its weight should sit.
How to Adjust Threader Earrings for the Drop You Want
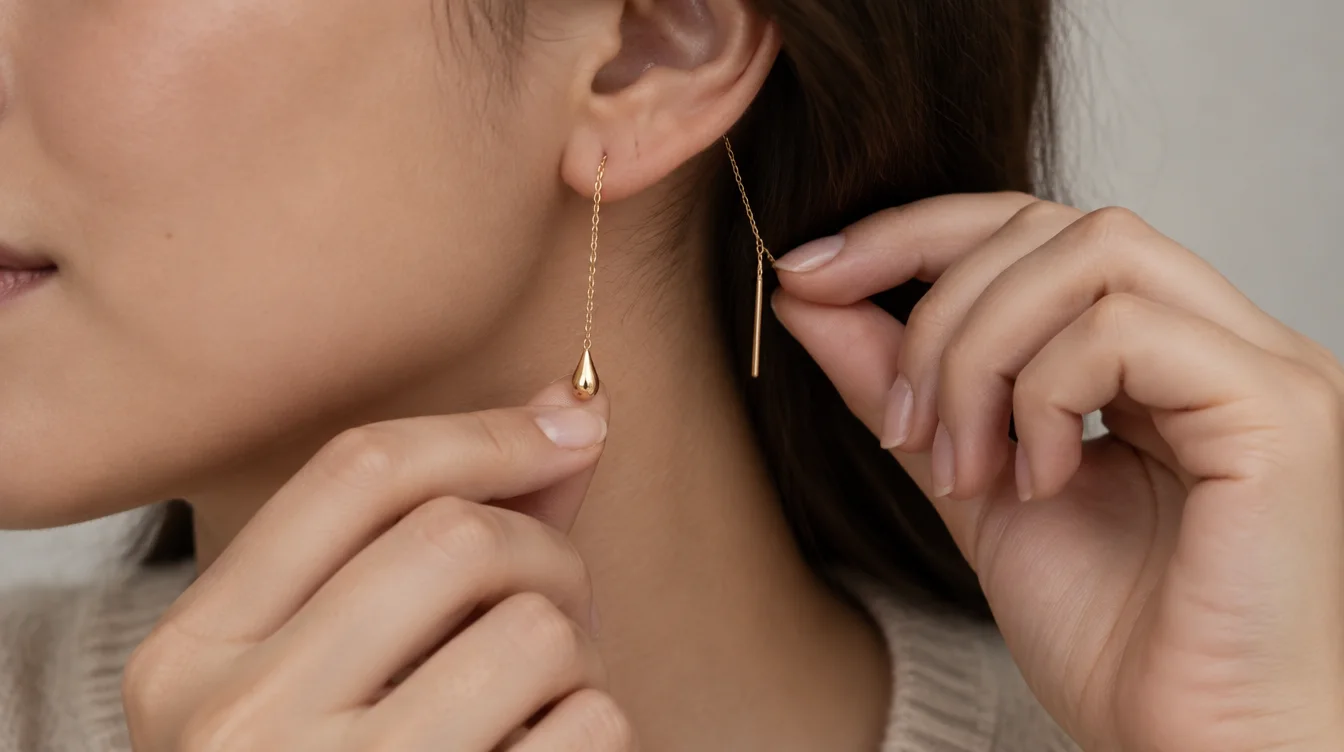
To decide how to adjust threader earrings, move the chain until both drops look right and feel steady. Pull more chain through for a longer back drop and a shorter front drop. Pull it forward for the reverse. Make small changes while holding the opposite end. A mirror helps, but comfort matters more than a perfect match.
Choose the Position for Your Design
A threader with a charm at one end usually looks best with that detail in front. A plain chain can hang on both sides of the lobe. For a long front drop, keep a useful length at the back instead of drawing almost the whole chain forward. The right balance depends on the charm’s weight, the chain’s length, and how much your hair or collar touches it.
Carathea describes both a front motif with chain behind the ear and a draped style with chain visible on each side. Neither position locks a threader in place. Check your chosen drop with a gentle head turn before you leave home.
That quick movement check tells you whether an adjustment is enough or extra hold would help.
How to Keep Threader Earrings From Slipping During Wear
Threaders resist sliding when enough chain rests behind the lobe and nothing keeps pulling the front down. Reset the drop, then watch how it moves. If the front creeps lower, try a longer back drop. If hair catches the chain, tuck it away before brushing or changing clothes.
Choose Between Balance and a Stopper
Balance preserves the light feel of a threader and suits earrings that shift only after a poor adjustment. Threader earring stoppers offer another option when a smooth chain keeps traveling through the piercing. A small, soft stopper sits on a compatible straight section behind the lobe, leaving enough space that it does not pinch. Bubs & Sass suggests a soft stopper for extra hold.
Do not force a stopper over a charm, thick chain, or delicate link. Check the fit with the earring maker or a jeweler if the design has no clear place for one. A stopper may limit movement, but it cannot fix a damaged chain or a post that irritates your ear. That distinction matters when you decide whether to wear the pair at all.
How to Wear Threader Earrings With Two Piercings
To learn how to wear threader earrings with two piercings, pass one threader through both healed holes. Leave a loose, comfortable span between them. Guide the post through the first piercing, then gently through the second. Draw the chain through until the loop or line sits where you want it. Angara shows both close wraps and loose loops as ways to style two piercings.
Keep enough slack for the ear to move without a tight pull between holes. A short, taut span may look neat in the mirror yet feel uncomfortable when you turn your head. Two piercings also change the path of the chain, so do not assume the drop that worked in one hole will feel the same. Start loose, then adjust.
When you take the earring out, use the same patient approach you used to put it in.
How to Remove Threaders and Know When to Stop
Remove a threader by holding the post and easing the chain back through the piercing. Do not pull sharply. Take off any stopper first, then keep the chain straight as it moves. If a charm cannot pass through the hole, withdraw the post along the route it entered. With two piercings, reverse the threading path one hole at a time.
Pause if the chain catches. Look for a twisted link, trapped hair, or a stopper you missed. Never drag a rough section through tender skin. If the piercing is sore or the jewelry will not move freely, ask a professional piercer for help.
These habits answer most fit questions, but a few common situations deserve a direct answer.
Frequently Asked Questions About Threader Earrings
Most threader problems come down to chain position, stopper fit, or friction from daily movement. The answers below help you choose a fix without forcing the jewelry.
How to Keep Threader Earrings From Falling Out?
Leave enough chain behind the lobe to resist normal movement, then test the drop with a gentle head turn. If it still slides, try compatible threader earring stoppers rather than pulling the chain tight against your ear.
Can I Use a Regular Earring Back?
Use a regular earring back only if it fits a straight section without stretching the back or damaging the chain. Many standard backs are made for posts. Ask a jeweler if the threader’s shape makes the fit unclear.
Why Does My Threader Catch When I Put It On?
The chain may be twisted, rough, or out of line with the piercing. Back it out gently and inspect it; do not push through pain or resistance.
If none of those changes gives you a comfortable fit, it may be time to choose a different threader design.
Find a Fit You Can Forget About
Knowing how to keep threader earrings from slipping is less about pulling them tight and more about giving the chain a comfortable path. Set the drop, move naturally, and see whether it stays put. Use a stopper only when it fits the design. If the earring still catches or irritates your ear, set it aside and ask a piercer or jeweler to check it before wearing it again.